Over the 2013/2014 winter break, I decided that I wanted to get better at baking bread. I’ve made bread a few times over the years, but never really been happy with the results. Since then, I’ve baked probably 30 loaves and am starting to achieve competence. The recipe I use is a blend of Julia Child and Jacques Pepin’s approaches.
I started with vanilla Jacques Pepin Gros Pain recipe. I really Pepin’s recipes because they tend to be the easiest version that works. This was no exception.
The next question was how it compared to Julia’s recipes, which many friends swear by. I started with this gem of a video from the French Chef.
Using the kneading technique and rise from this recipe, I A:B tested Jacques and Julia’s recipes.
They ended up very similar, although testers preferred Julia’s crumb and Jacques crust. After lots of experiments, this is my current go-to bread recipe.
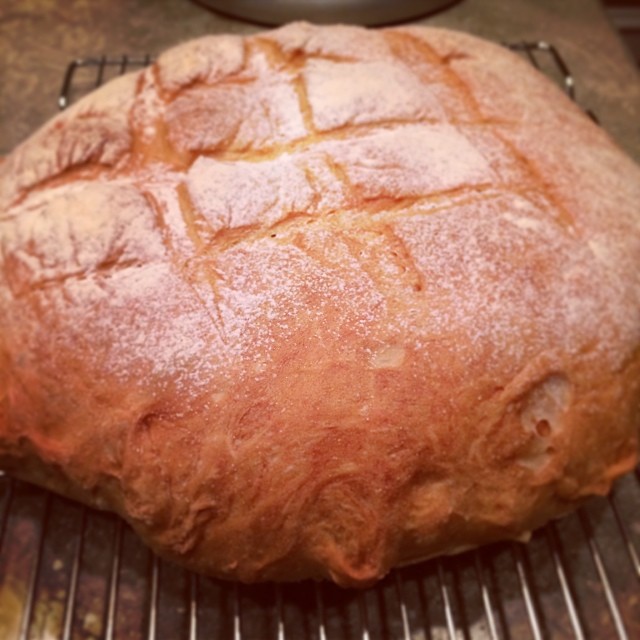
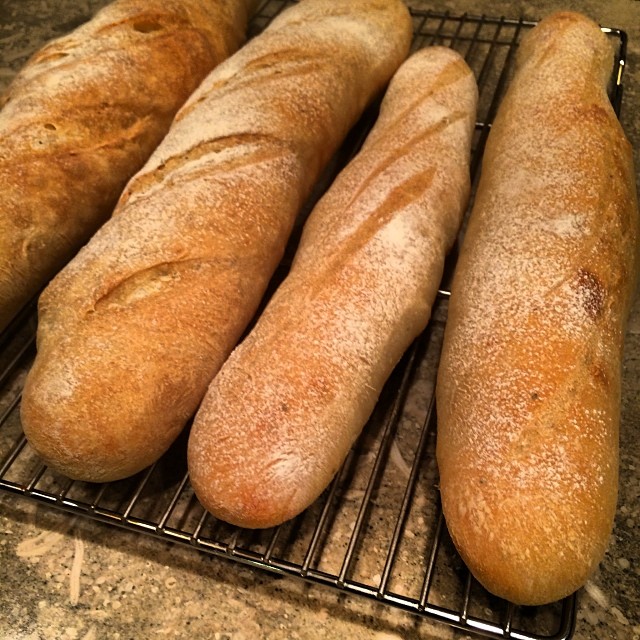
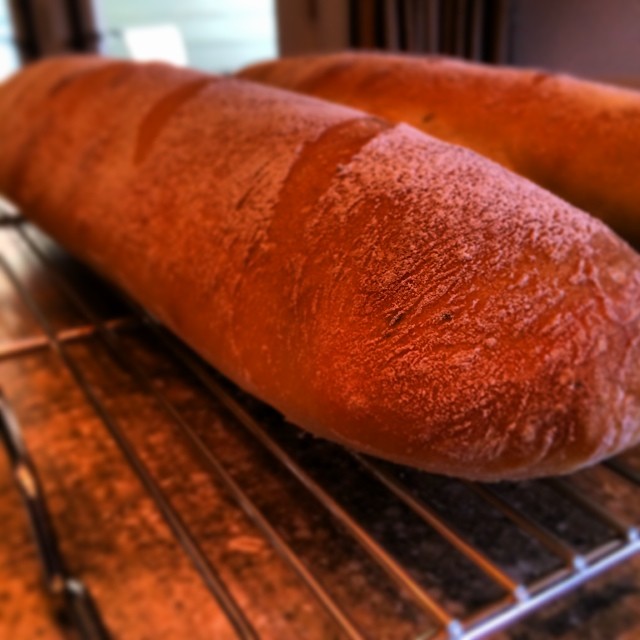
Mk 1 Mod 0 Bread…
- 17.5 ounces of bread flour + 2 tablespoons
- (additional flour as needed for dusting, hand, rise)
- 12.6 ounces of water
- 2 tablespoons of kosher salt
- 1 packages of instant, rapid rise yeast
- (optional) tablespoon of fresh cut herbs, such as rosemary, very finely diced
Whisk dry ingredients (including herbs if desired) together in large bowl, add water. Stir to almost combine, dump onto floured counter. Gently bring mixture together, should be extremely soft and sticky. Let dough rest for a couple of minutes. Add as little additional flour as needed to enable to pick up and knead the dough like Julia does in the video, for 6-8 minutes.
Pull dough into ball, drop into oiled bowl and cover with plastic wrap. Let sit until tripled in volume. Punch down, add in 2 table spoons of flour and work in until dough is smooth again. Repeat rise step.
Shape the dough into either one large batard or two baguettes, using Julia’s technique from video. Allow to rise for 30-60 minutes, covered (or in cold oven).
Make several shallow cuts across top, dust with flour.
Preheat oven to 450 degrees. Add loaves and add humidity to oven with 4-5 spritzes from spray bottle of water. Wait 3 minutes.
4-5 spritzes. Wait 3 minutes.
Rotate loaves in oven. If just one, spin 180 degrees. If two, spin both 180 degrees and swap top and bottom positions. 4-5 spritzes. Wait 3 minutes.
4-5 spritzes. Wait 5 minutes.
4-5 spritzes. Wait 5 minutes.
Total baking time 18-20 minutes, internal temperature should be nearly 200 degrees, crust should be very firm and golden. A tapped loaf should feel very firm. I usually pull the load here, although letting it go another 5 minutes or so doesn’t seem to change much.
To add flavor, get sourdough starter going. 2:1 ratio of water to flour in a covered but not airtight container. Once it starts bubbling, add approximately 1:1 flour and water by weight (around 1oz each) every day. By the end of a week, you should have some excellent flavors going and the ratio will be roughly 1:1 by weight, so scoop out 4 to 6oz and add to recipe, the subtract one half of the total from flour and water amounts. For example, if you add 6oz of starter, you’d go with:
- 14.5 ounces of bread flour (17.5 ounces in original recipe - 3 ounces of flour in starter)
- 9.6 ounces of water (12.6 ounces in original recipe - 3 ounces of water in starter)
I still add packaged yeast in addition to the yeast in the starter.
Oh, yeah, don’t forget the fresh butter.

Fresh, homemade butter…
- 1 pint of heavy whipping cream (best quality you can find)
- salt to taste
Put the cream in a stand mixer with a whisk attachment. Put the spurs to it and make whipped cream. Keep going until the whipped cream starts looking over whipped.
Switch to paddle attachment and use plastic wrap to make a tent around the stand mixer, because it’s about to get messy. High speed with the paddle and wait. And wait. Get to the point that you think you’ve screwed up and nothing is going to happen. Keep mixing. Suddenly the cream will separate into solids (the butter) and buttermilk. Slow down and keep mixing until the butter begins to clump.
Transfer to cheese cloth or a fine strainer and use a spatula or wooden spoon to press liquid out of butter. You can dunk the butter in ice water to keep it solid between squeezes. Goal is to get all the liquid out. You can keep it and it works well as a substitute for water in bread, but it’s not acidic buttermilk yet, so don’t use it in recipes that need the pH hit. Still need to research how to make it into real buttermilk.
Work salt into the solids with a spoon or spatula, press the solids into a block with wax paper, and refrigerate until you’re read to. Like all butter, let come to room temperature for best flavor.